Time for an update I think.
The last thing I wrote here about this project was regarding the apron design.
I have not solved that problem yet, but many others…

I ordered a widebody lockdown bar, only to realize that the playfield is too wide (super-widebody, anyone?), so I’ll have to cut that one up and lengthen it at some point in the future.
I considered making a new playfield, but I eventually opted to keep this one.

Mounted the upper playfield temporarily.
The lane dividers have been replaced with yellow Williams-style ones, I think they look better…


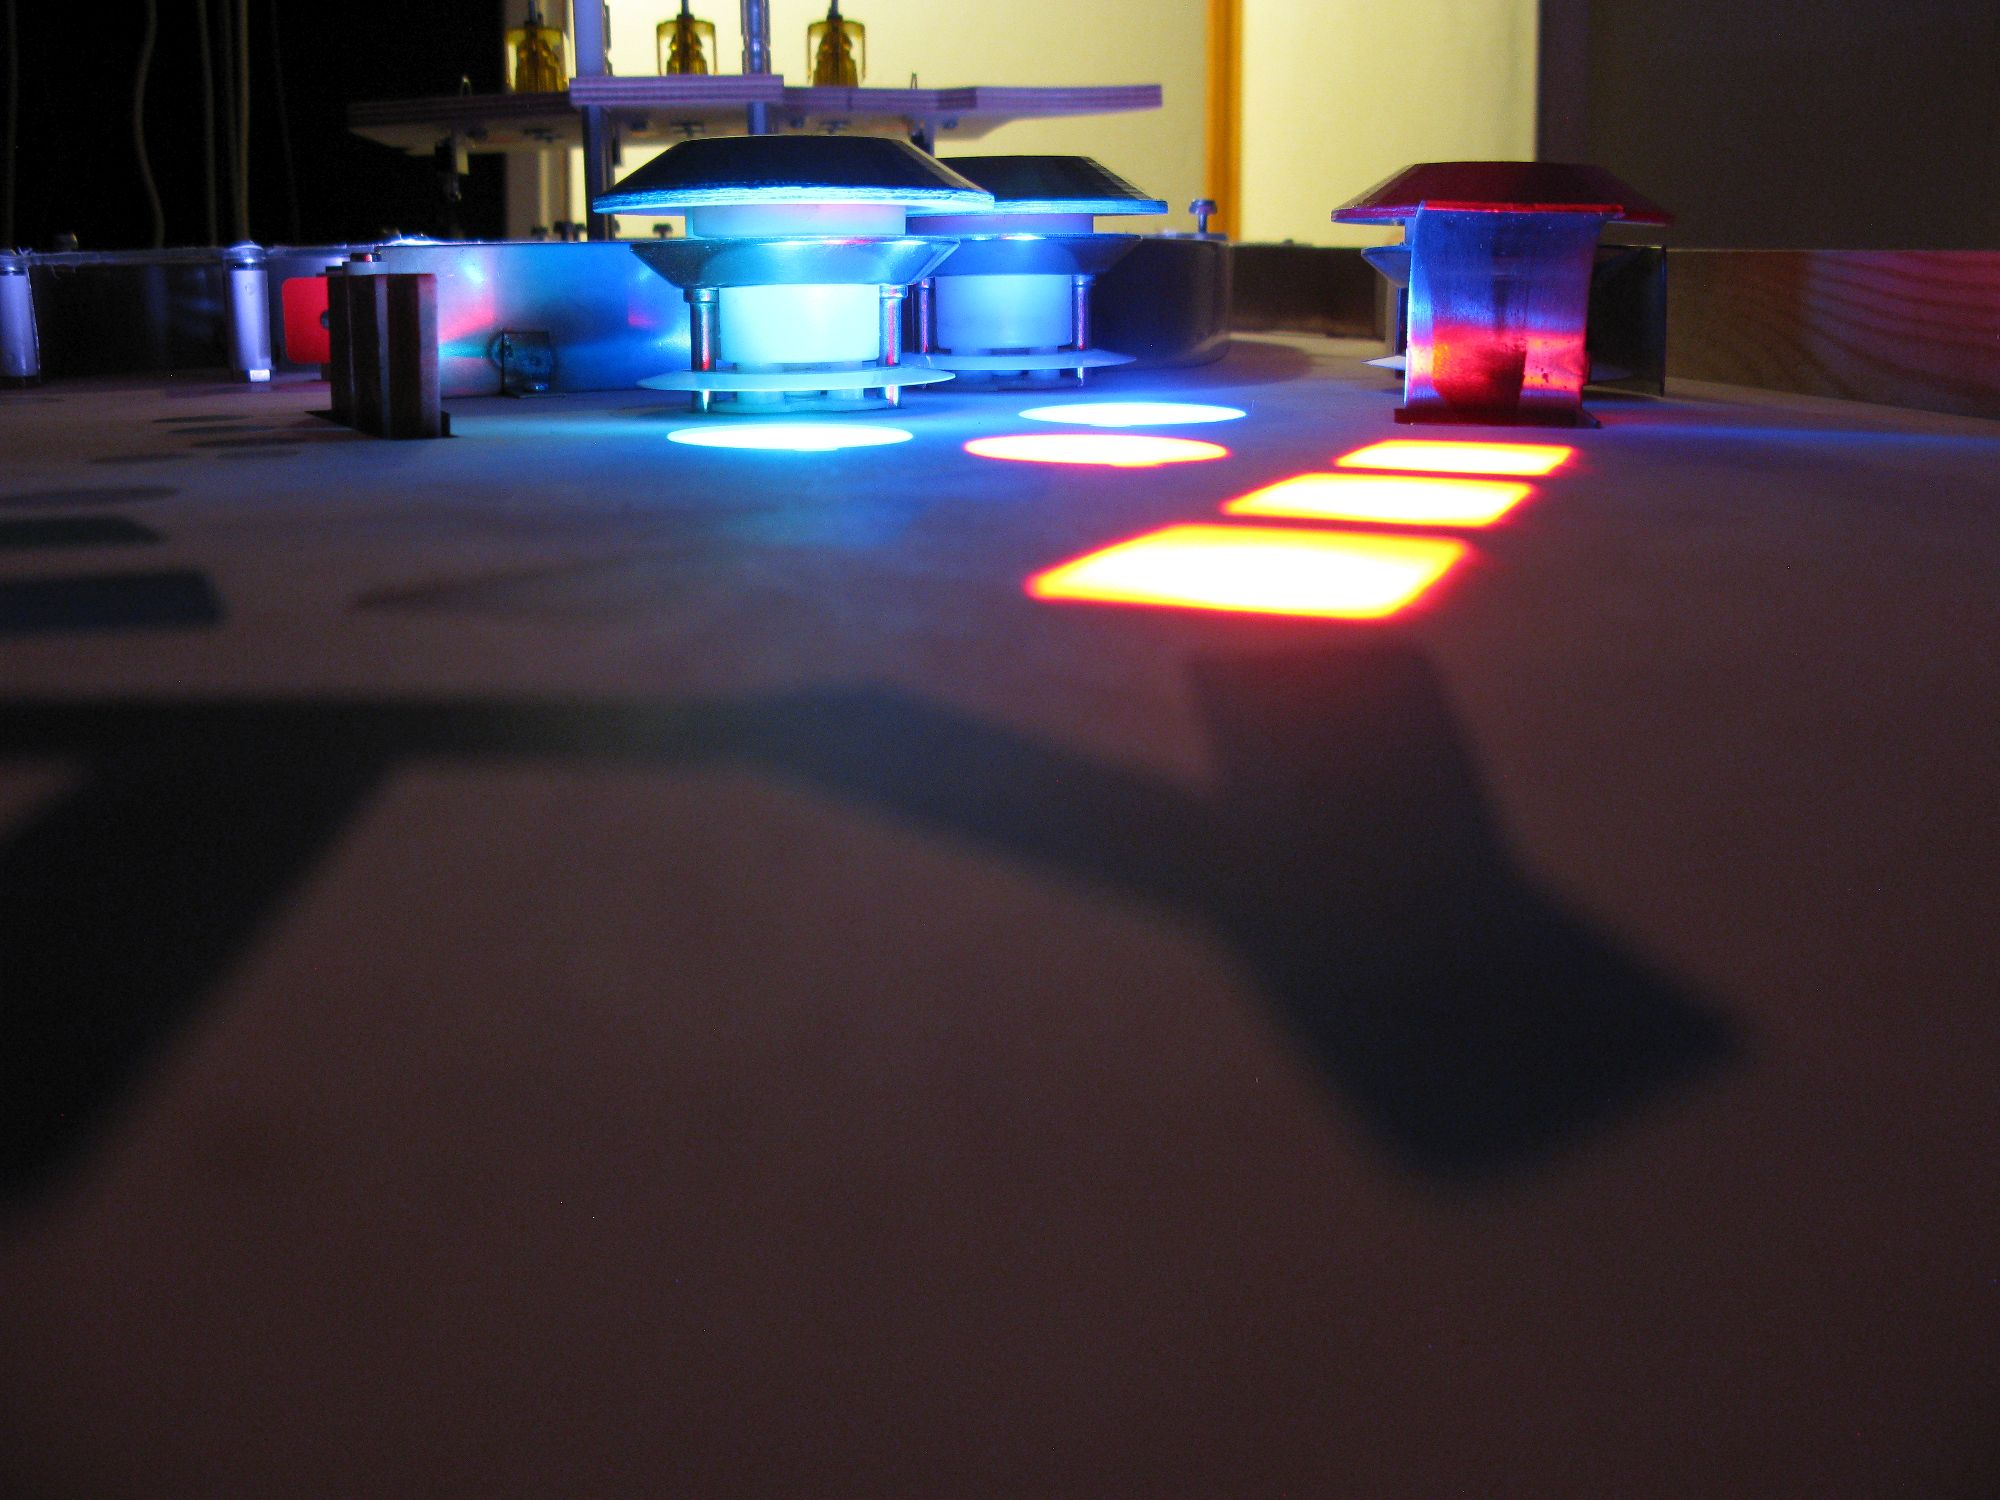
Doing some polishing work on the bumper rings, the left one is polished on the picture.

I designed a small led-board in diptrace, and had them manufactured by iteadstudio.
It’s really just a pcb for connecting cables to a WS2812B addressable led.

(Oops, I forgot the capacitor)

It looks good (colours look a bit off in the picture though)

A new, corrected version, was sent to itead, and then the leds and capacitors(120nF) were soldered on.

I also designed some solenoid drivers, they are just mosfets(currently 75N06) and some resistors.

A parallel to serial shift register (74HC165) is used to read the switches.

A box made out of wood, for casting a plaster mould for the Drop Zone-VUK-trough.


It broke when I was a little too forceful removing the wooden box, but it should still work.
The idea is to heat a sheet of plastic, and then vacuum form it over the mould.

Built a frame for holding 2mm polycarbonate-sheets.
It’s two frames made out of 12mm MDF, held together with some wing-screws.
The vacuum table is three layers of MDF, where the bottom has a hole in the middle for the vacuum, the middle is a frame, and the top is filled with 256 holes

Heating with a patio heater.

The result was not good. At all.
I even tried heating from both sides, but the result was the same.

So I abandoned the vacuum forming (at least for now, I am going to need to vacuum form the cyclone and skyride ramp later on, but one problem at a time)

So I bought some steel sheet and cut out some troughs instead.

Ta-daa!

Drilling some holes for opto switches.

Mounted on the playfield…

…and wired up.

Printed a light guide for the P,A,R,T and Y letters.


And this is how the playfiled looks now.
Most of the stuff is wired up, and the main issue now is the programming.
I have a thought of running most of the code on a Arduino Mega 2560, we’ll see how well that works 
And here is a little video of the attract-sequence:
Härligt projekt! Snubblade över denna när jag såg en på Twitch spela Pinball Fantasies och blev fundersam om någon hade byggt en riktig version. Hur går det? Har projektet stannat av sedan 2015? Eller finns det någon liten update till?