Pinball Fantasies – Party Land
This is the page where I post pictures and updates about my Pinball Fantasies project.
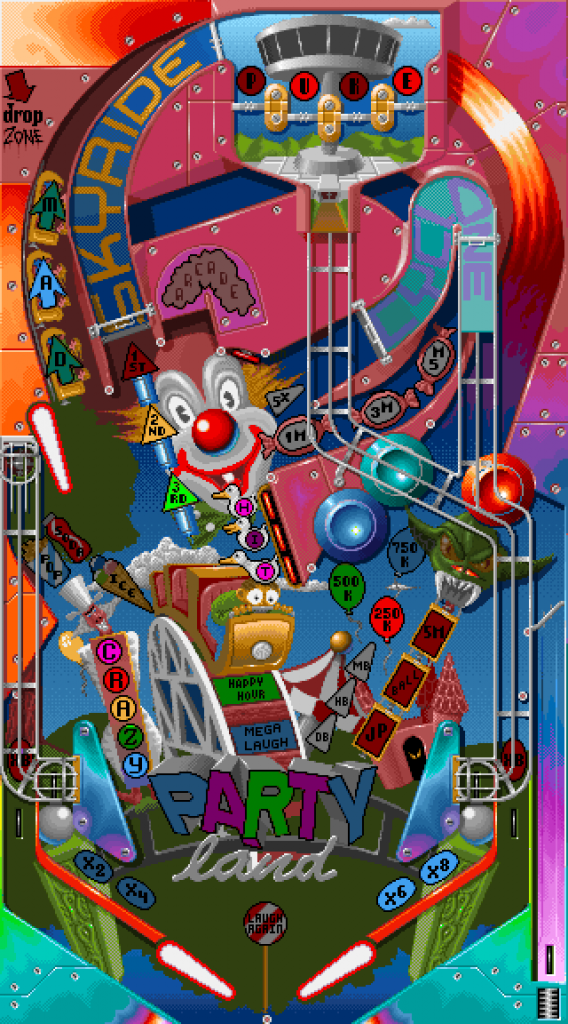
My goal is to build a real version of the popular table Party Land, from the game Pinball Fantasies.
Pinball Fantasies was released in 1992 for the Commodore Amiga, as well as other platforms such as MS-DOS.
It was designed by the Swedish company Digital Illusions, consisting of Andreas Axelsson, Olof Gustafsson, Fredrik Liliegren and Ulf Mandorff.
In early 1992, they released Pinball Dreams, followed by Pinball Fantasies later in 1992, and then Pinball Illusions in 1995.
They later changed their name to DICE, releasing Battlefield1942 in 2006.
But enough history, let’s get on with my project.
Chapter One
2012-10-??
I started searching for information about the Party Land table, that wasn’t clear from just playing the game, such as dimensions etc.The result? I found Felipe Sanche’s pages. He had already started building the exact same table as I wanted to build – Great!
http://code.google.com/p/how-to-build-a-pinball/This is a Google Code page, containing all of his work on this project, everything from vectorised art, to more or less complete 3d models.
https://groups.google.com/forum/#!forum/diy-pinball
And this is a mailing list, where some ideas are discussed.
I contacted Felipe and exchanged some ideas, and then found his blog http://jucablues.blogspot.com.br/
2012-10-28
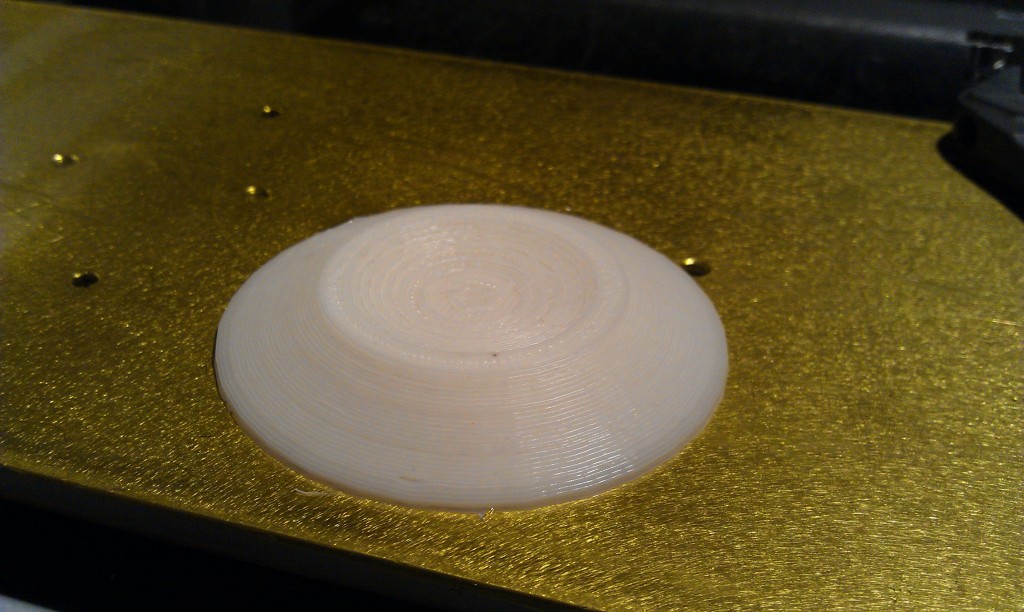
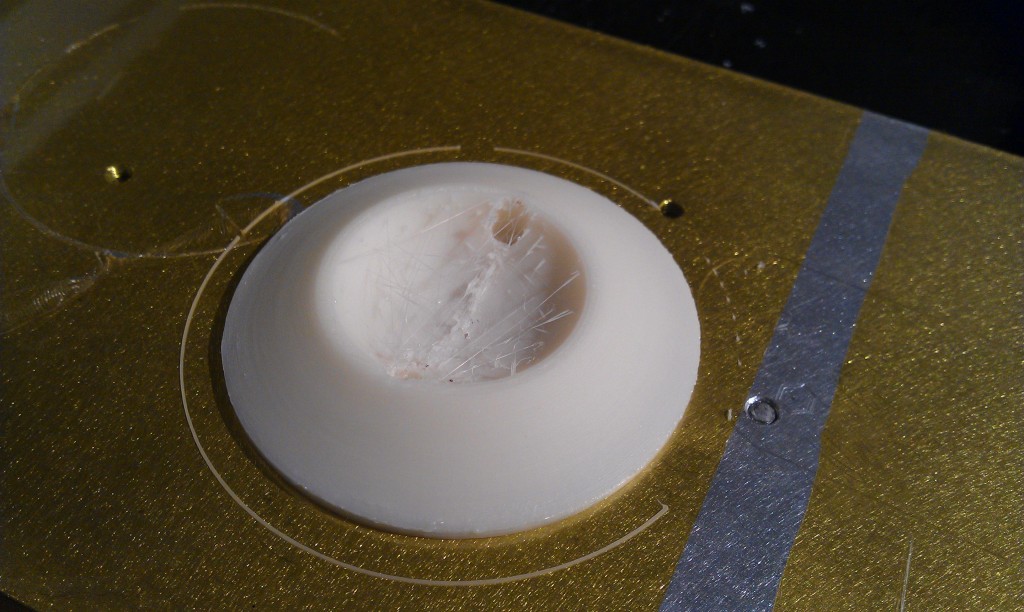
I printed out one of the bumper caps
It turned out quite well, especially since I was new to 3D-printing.
2012-11-15
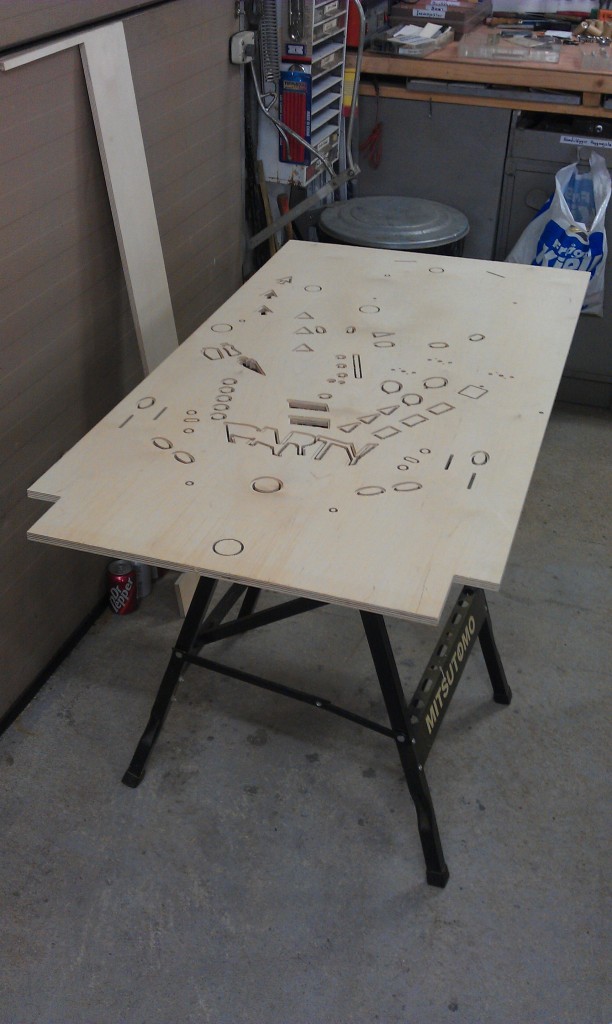
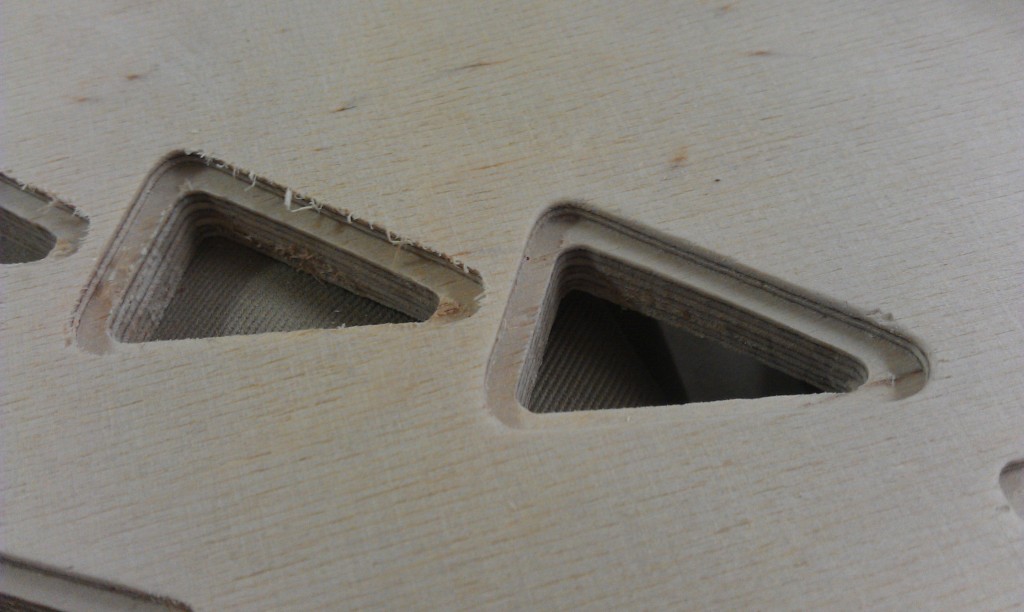
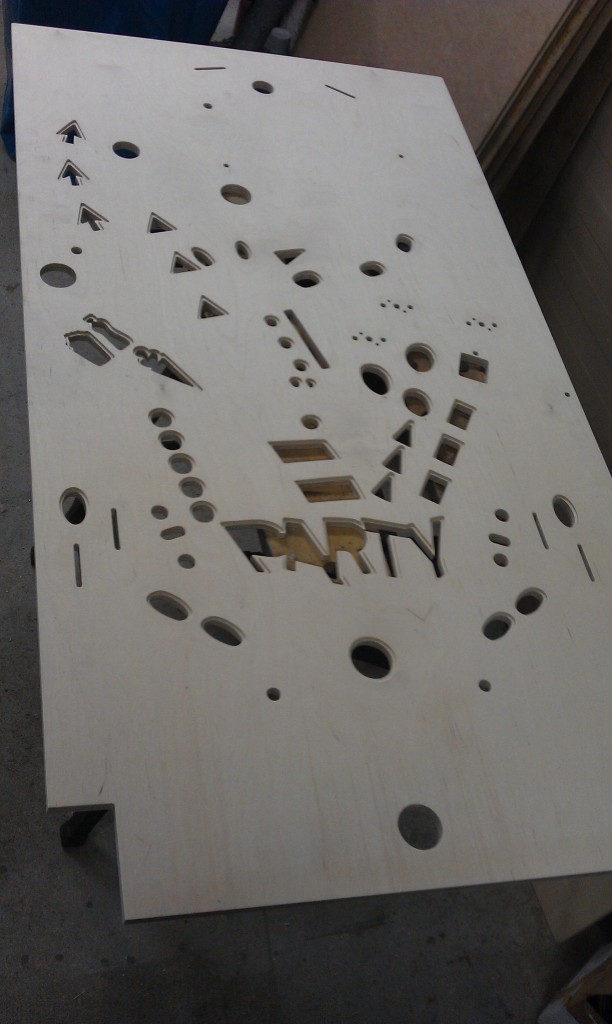
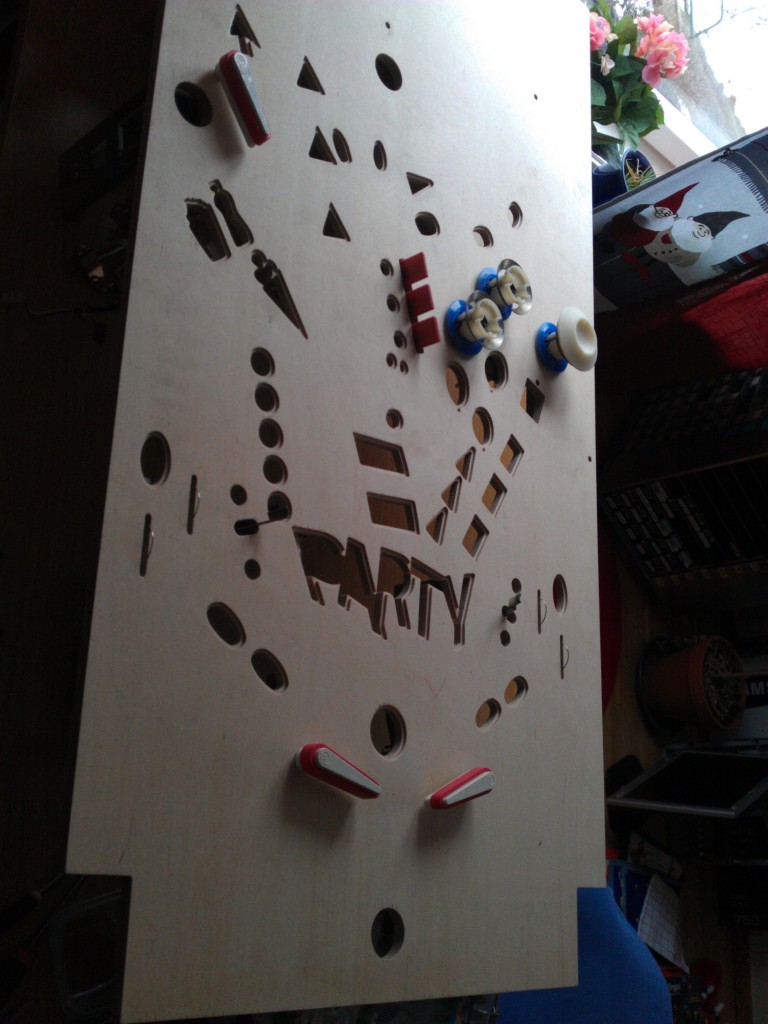
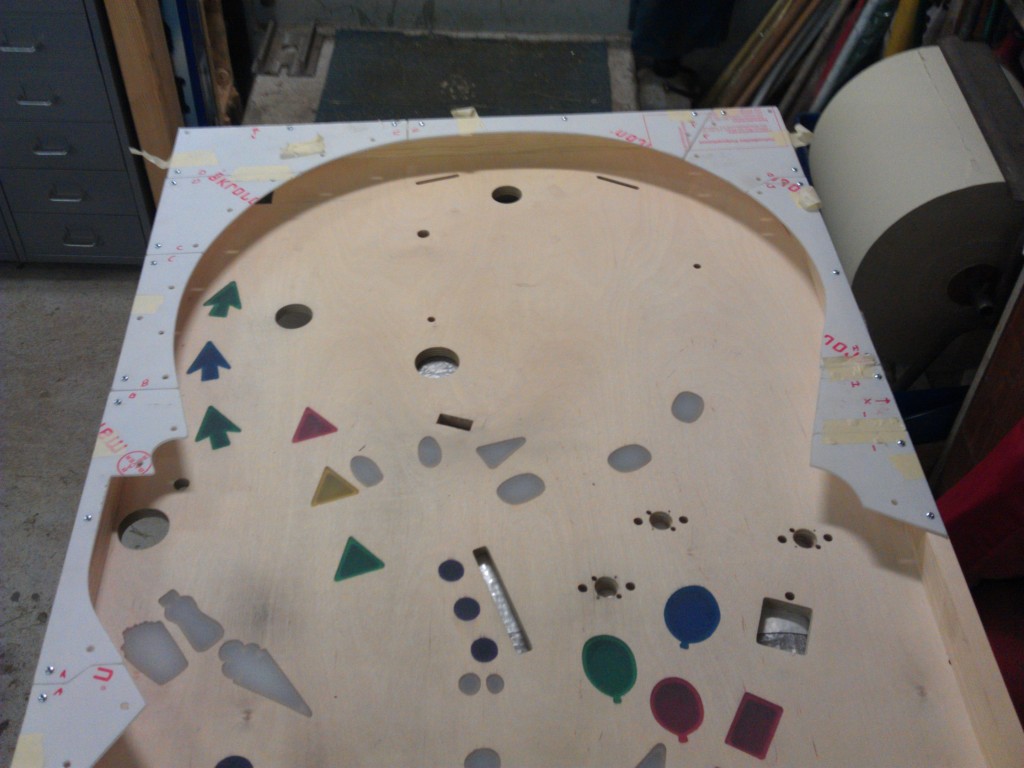
I purchased a 12mm thick plywood board, and got it CNC routed according to Felipes Drawings 
Before and after sanding.
Done
2012-12-15
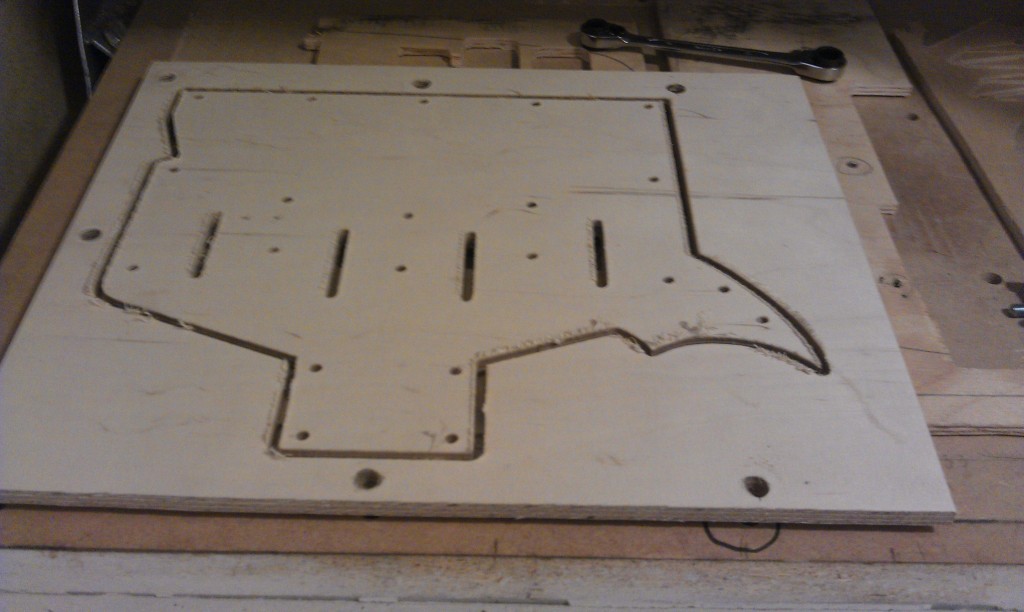
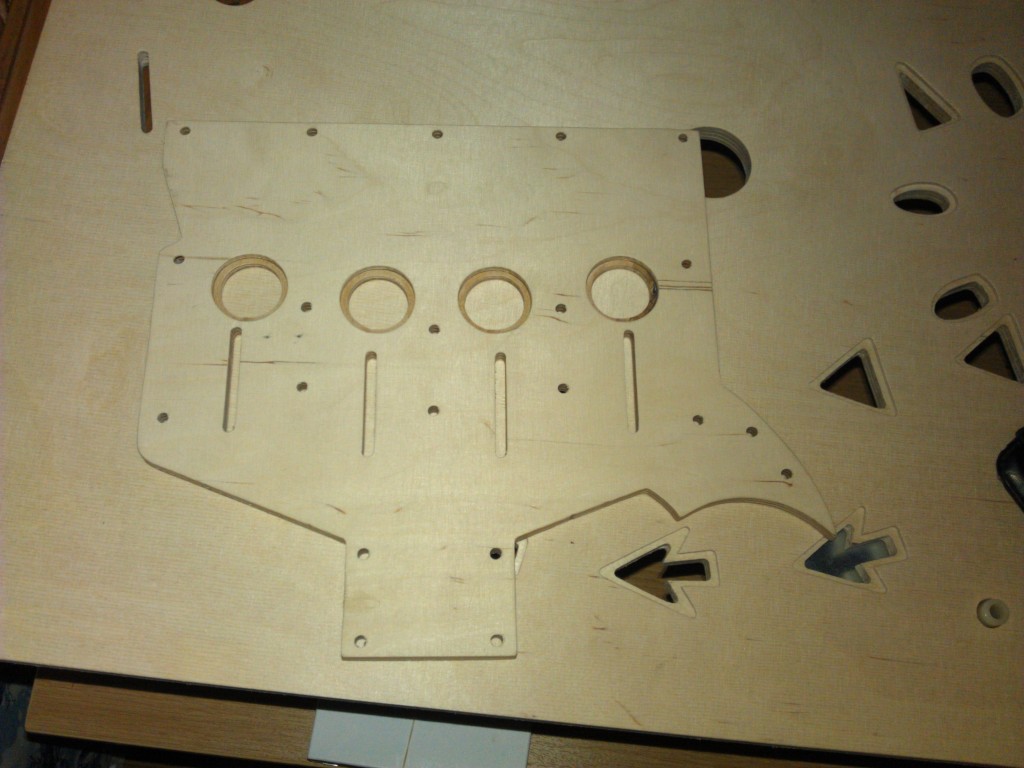
I used my own CNC router for the much smaller upper playfield.
2013-01-13
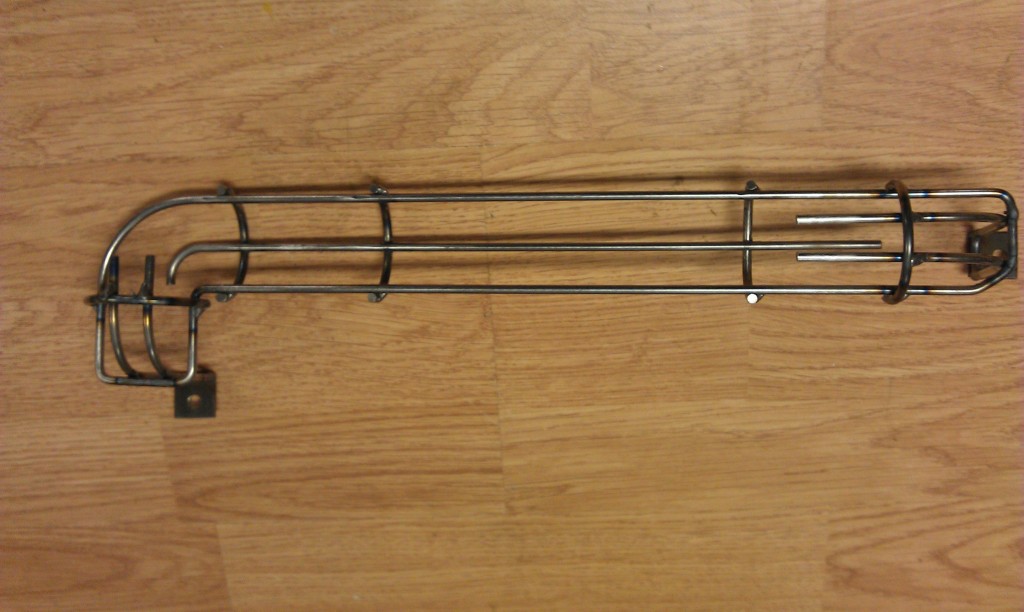
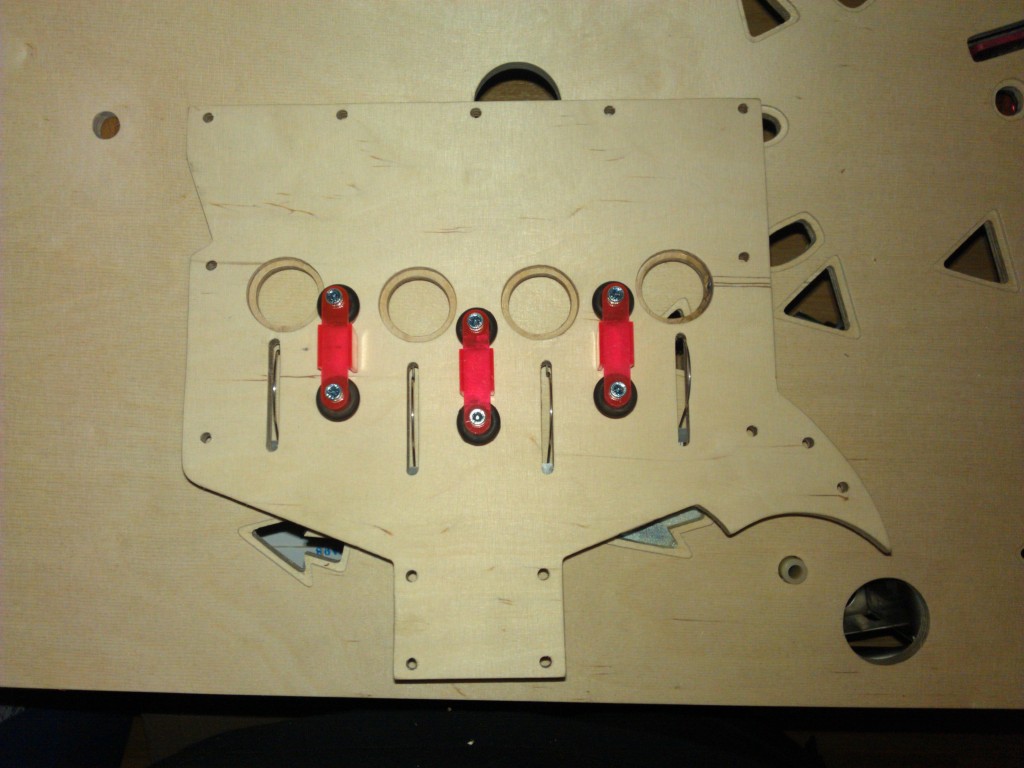
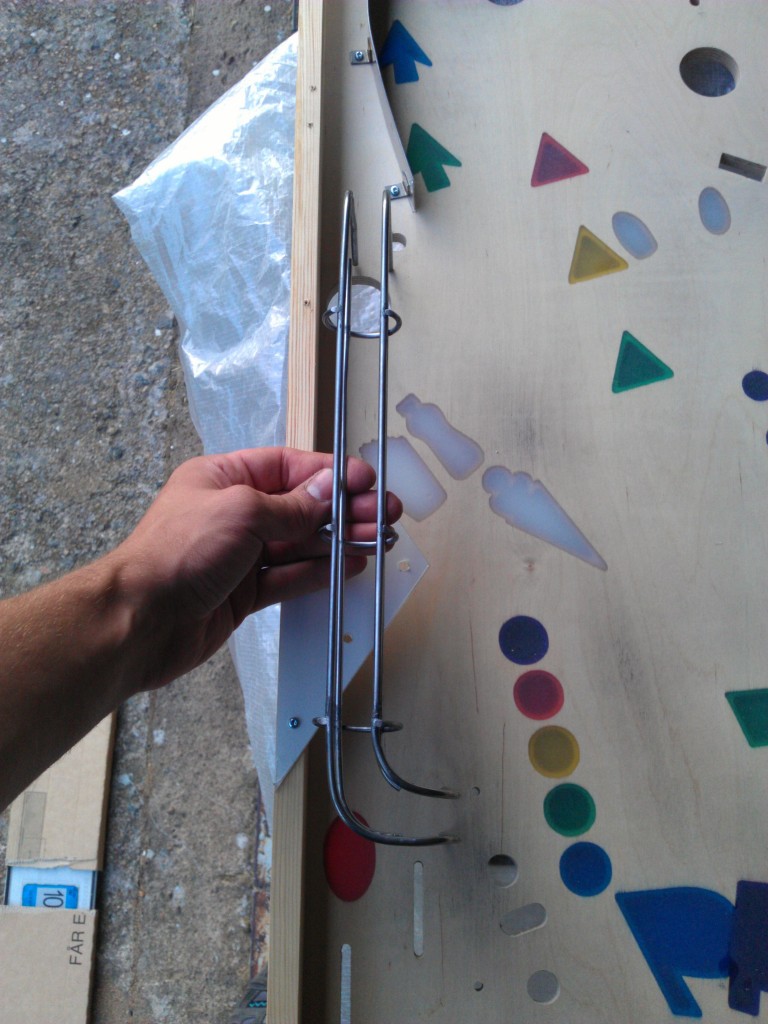
I made the left wire guide, just as it was depicted in the game.
It did not turn out to be such a good design. Will design a new one using four rods instead of three.
2013-01-24
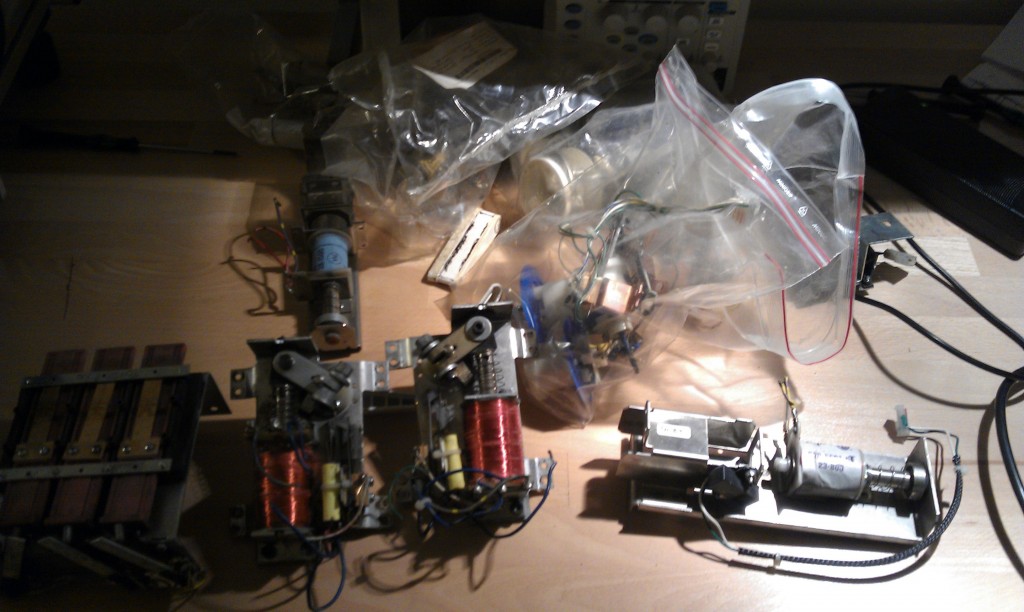
I bought some used parts.
These will be mounted later…
2013-02-08
Printing the new Bumper Cap.
Much better than the first one.
2013-02-15
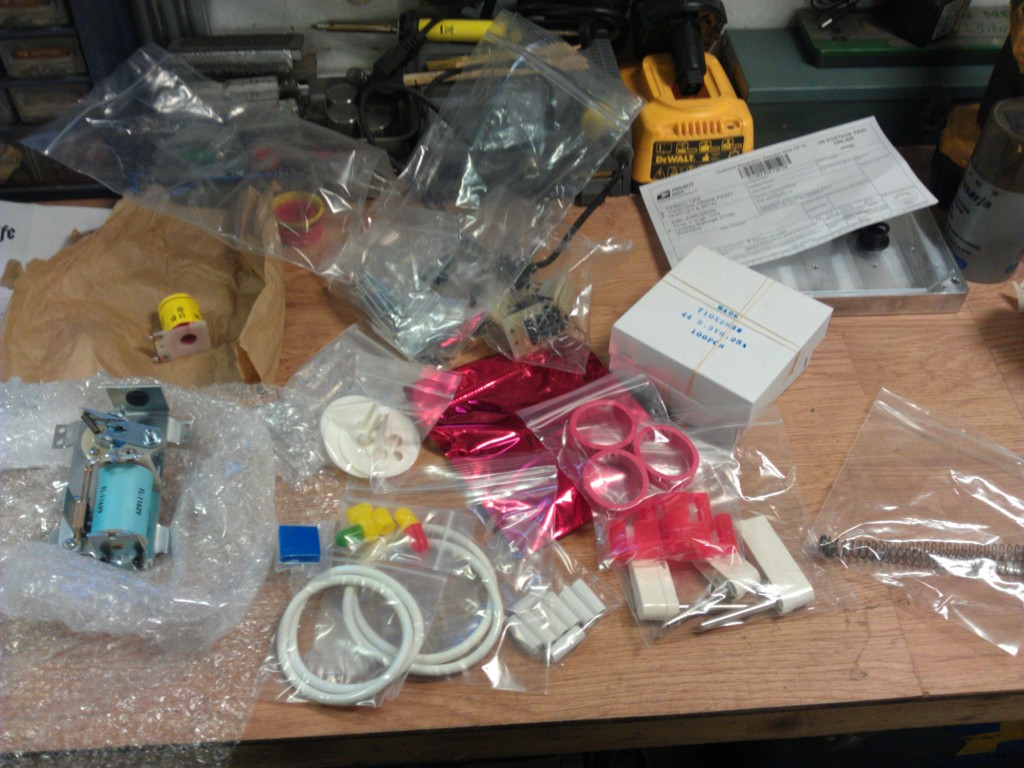
More parts, yaay!  This time from pinballlife.com
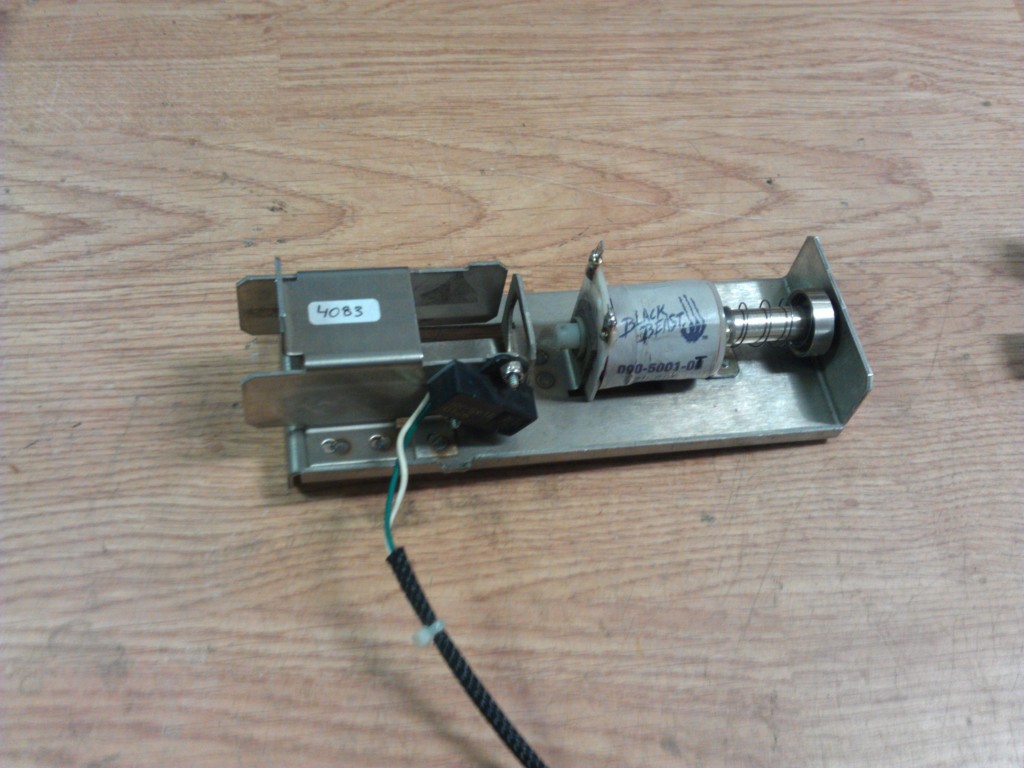
One of the VUKs Sega P/N 500-6179-00-56 with sensor 180-5145-02…
…was adjusted to fit my needs…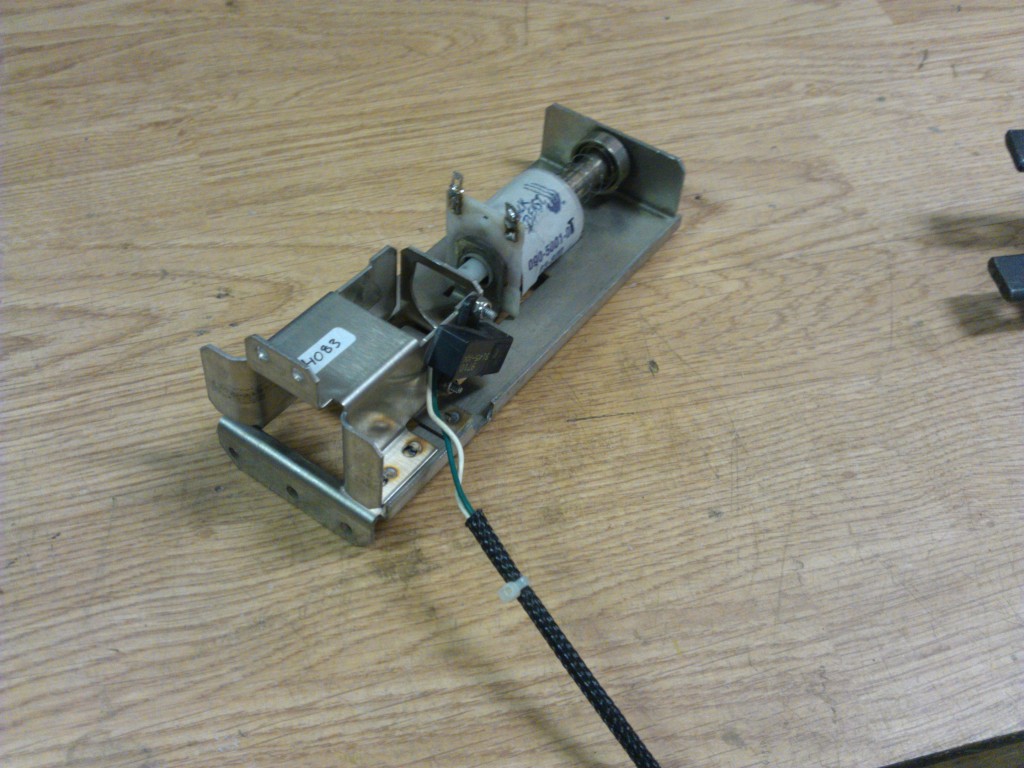
2013-02-17
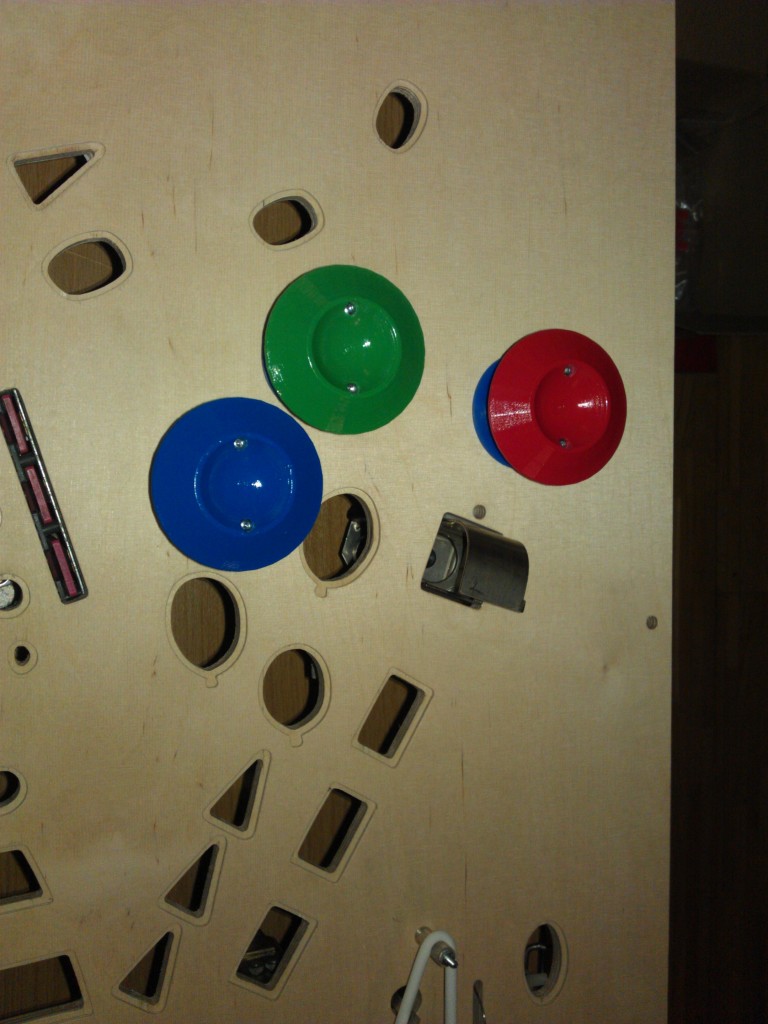
Test mounting of flippers, bumpers and drop targets. (Note the christmas curtains – in february??)
2013-02-23
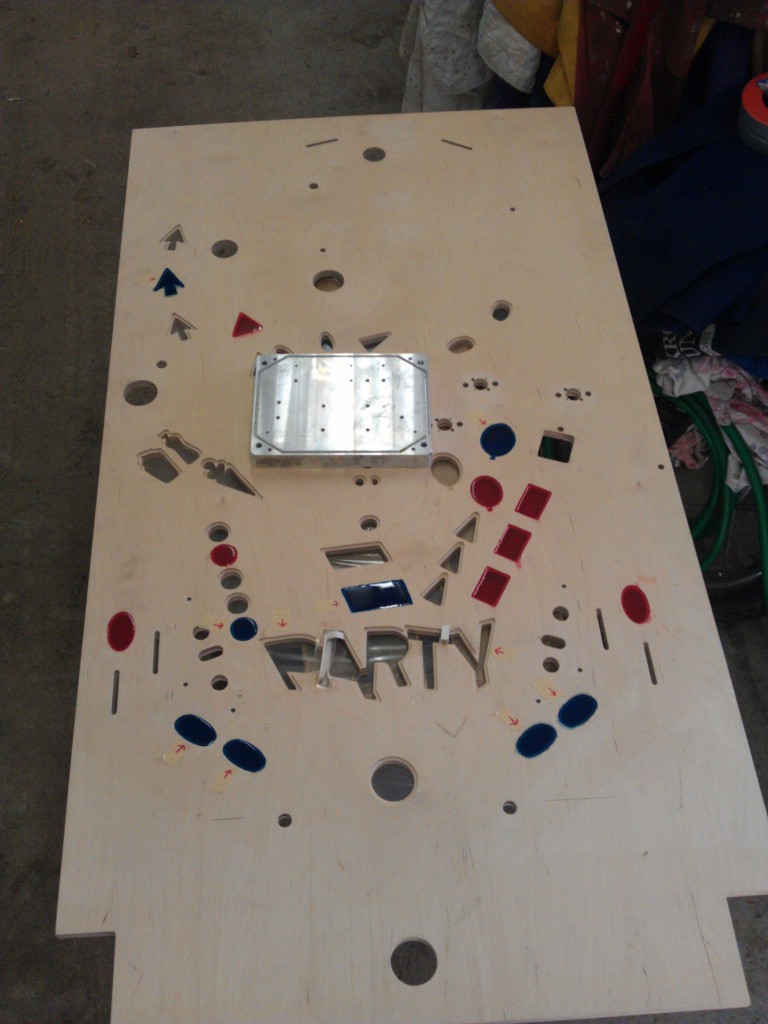
Not until now did I notice there was something missing from the upper playfield – the P,U,K and E inserts!
Test mounting lane dividers and switches
And some Pop Bumpers, Slingshots and a VUK
Chapter Two
2013-02-28
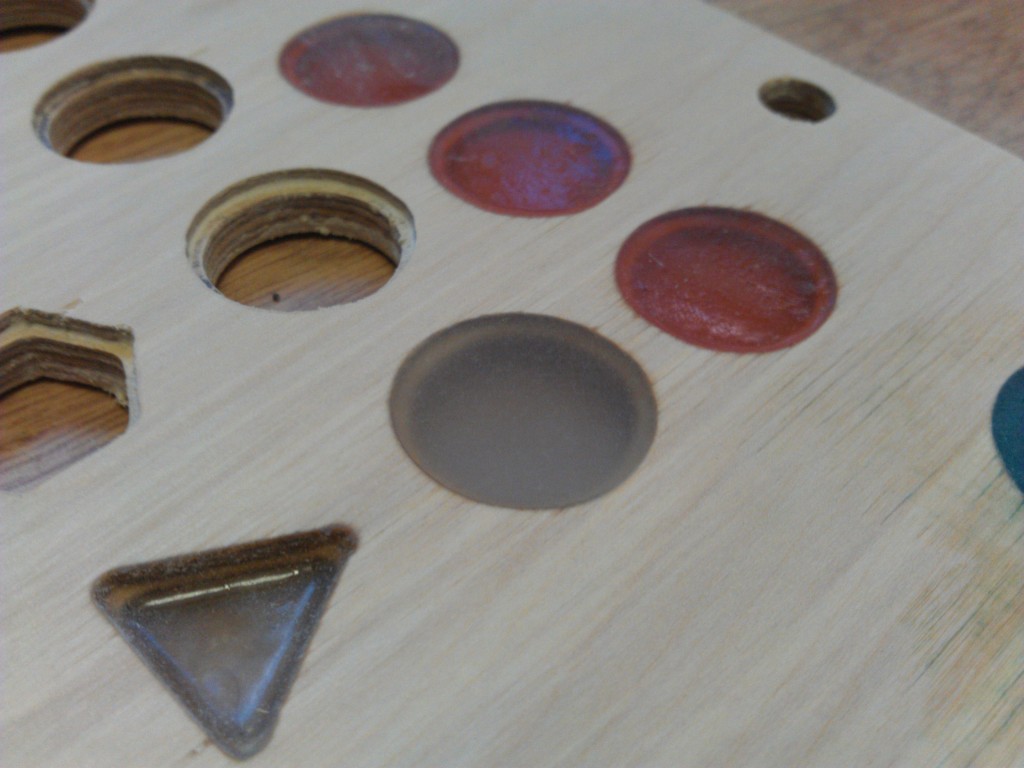
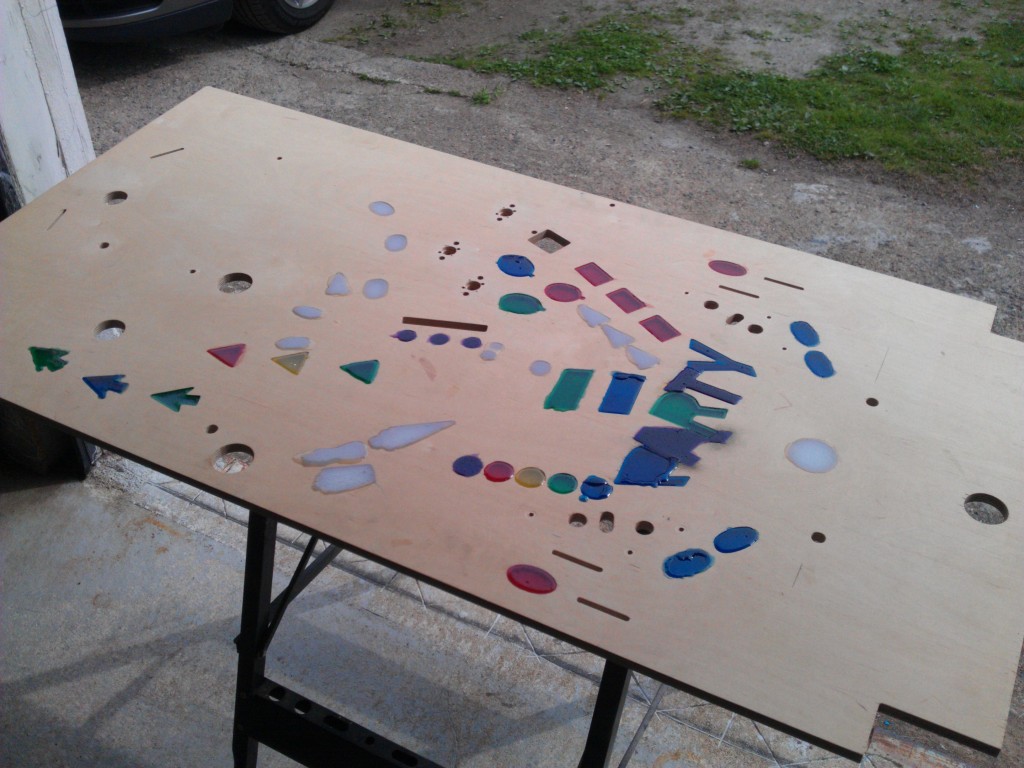
Most pinball machines have lights under the playfield, shining through a coloured plastic insert.
This game is no exception, however it does have some non standard shapes, so using off-the-shelf inserts just won’t do.
After many months of being unable to decide what plastic to use, I finally went for Clear Polyester Casting Resin from eti-usa.com
I took quite a while to get the polyester/catalyst proportions right – too little catalyst and it will never harden, too much and it will harden too quickly and crack the mould.
Another hurdle was mixing in the correct amount of colour pigment.
A bit of trial and error solved both of these problems though.
Here’s a few different techniques I tried:
- Placing a piece of sheet plastic on the front side of the playfield, and filling the plastic from the rear. – A disaster. It was impossible to get a tight seal between the wood and the sheet.
- Placing a piece of tape on the front side of the playfield and filling the plastic from the rear. – A bit better, the polyester did not leak this time, but it ended up being concave on the tape side (no idea why though)
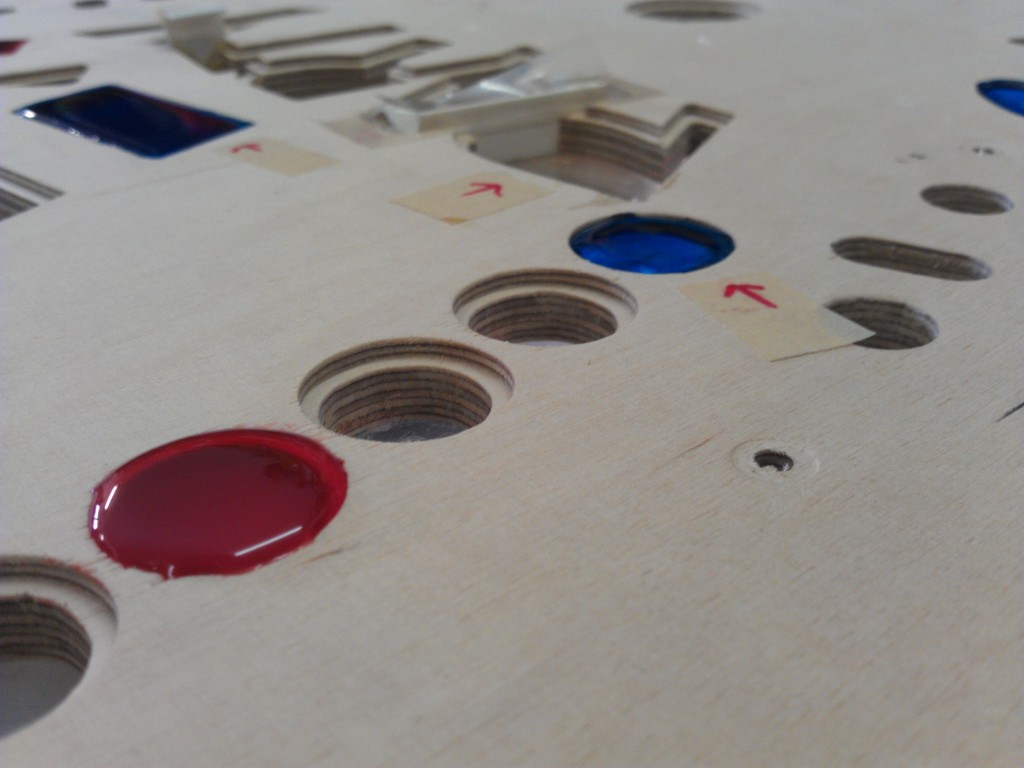
- Placing a piece of tape on the rear side and filling from the front, and slightly overfilling to form a convex shape. – Worked well enough, some of them I hade to ”refill” a second time, but no major hiccups.
2013-04-20
Today we are mixing the red and blue plastic.
2013-05-04
Green and Yellow
The green thingy in the letter A is modelling clay/playdoh.
2013-05-10
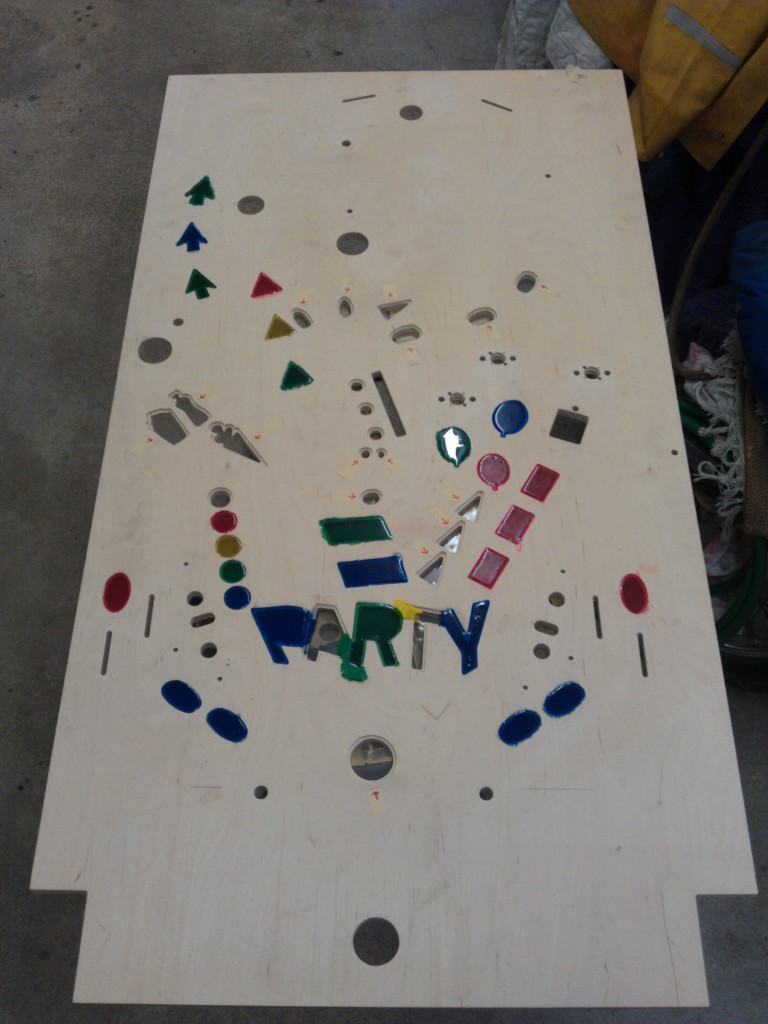
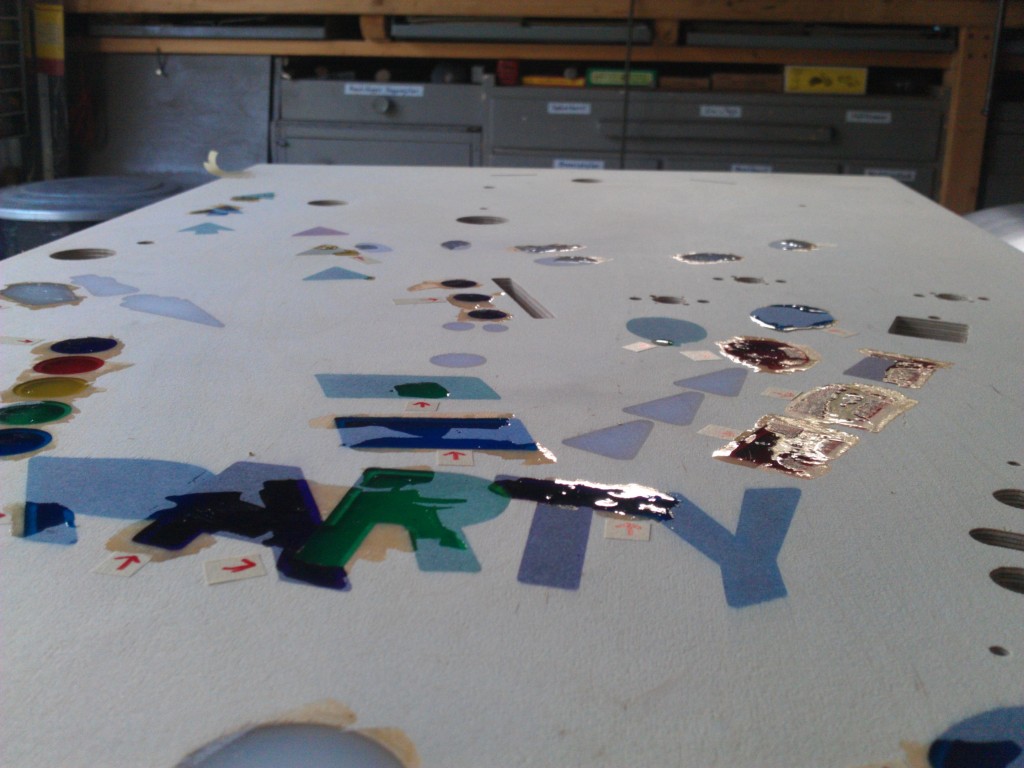
The last two colours, Purple and White
As you can see, they are all above the wood surface – they are meant to be sanded down to be perfectly flat.
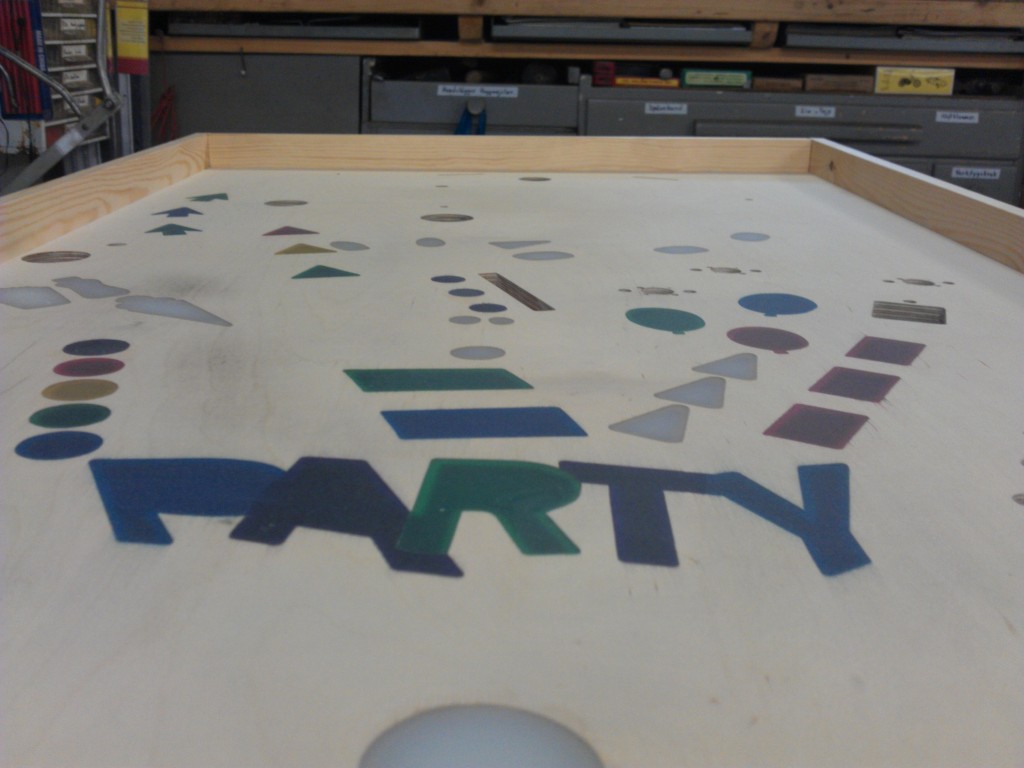
2013-05-17
Like this!
Here it is sanded with a belt sander, and then I filled in any missed spot with some clear polyester.
Looks really good.
2013-05-22
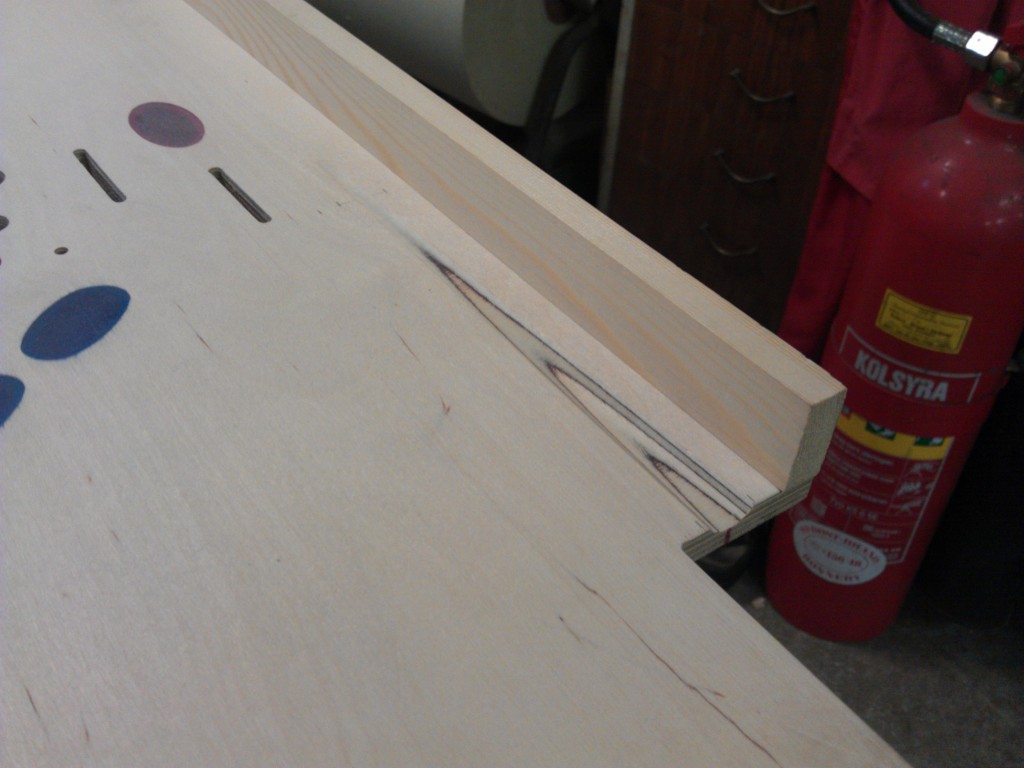
Sanded down again, and some wooden sides mounted.
2013-05-26
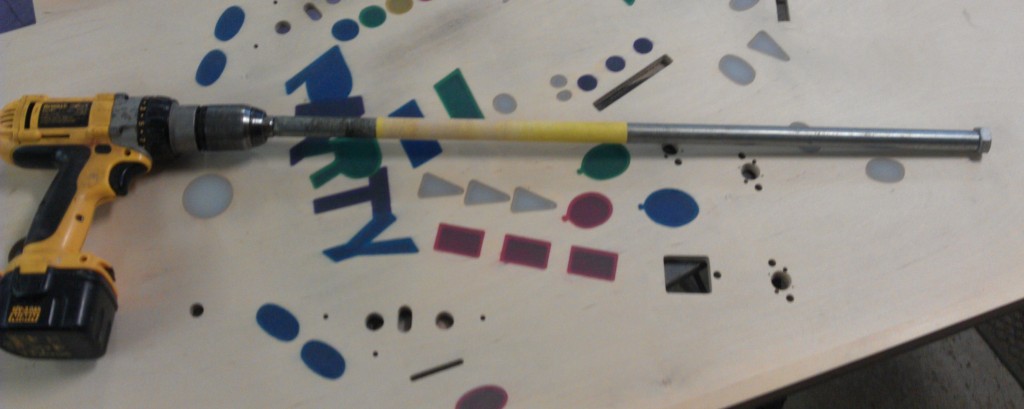
A piece of pipe, a drill and some sandpaper can be made into a tool like this:
For making these:
2013-06-09
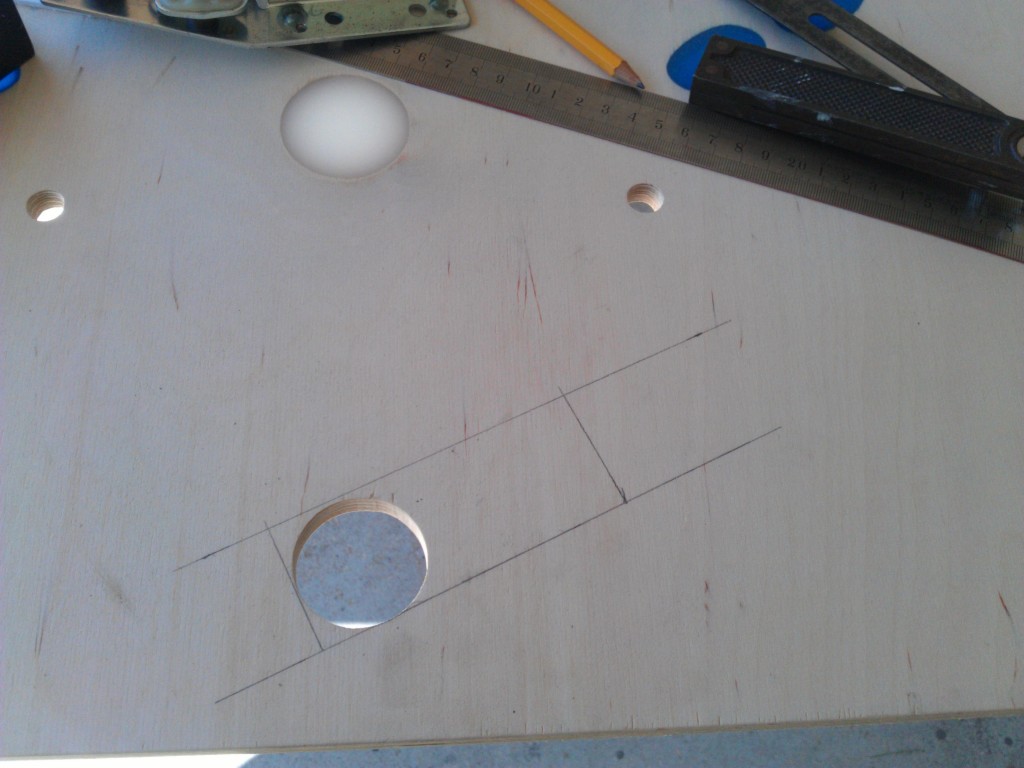
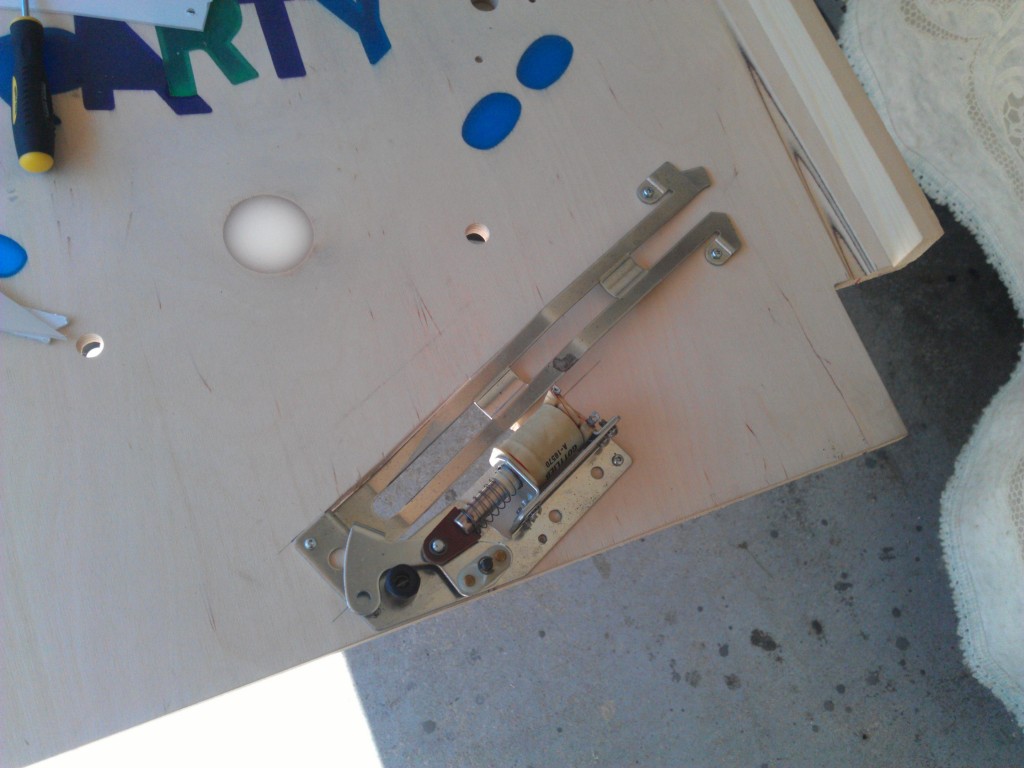
The Outhole in Felipes drawing was just a hole, and it needed to be modified.
It’s a bit short, since this will be a widebody game, but it’ll do.
2013-06-29
CNC routed polycarbonate!
2013-07-13
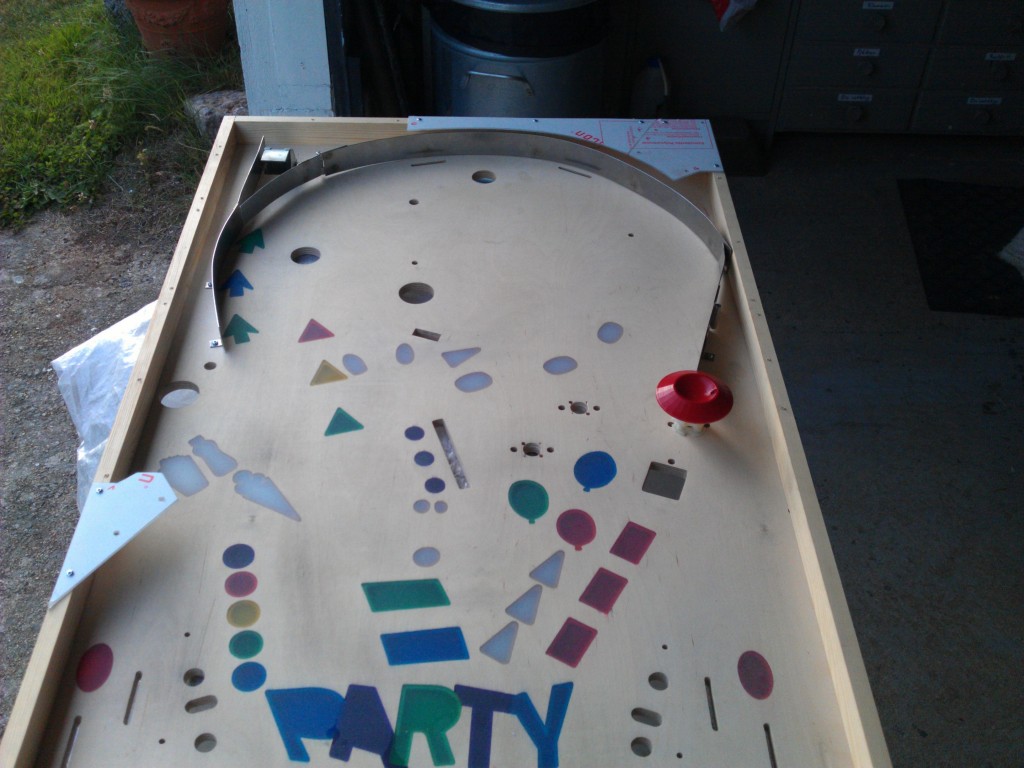
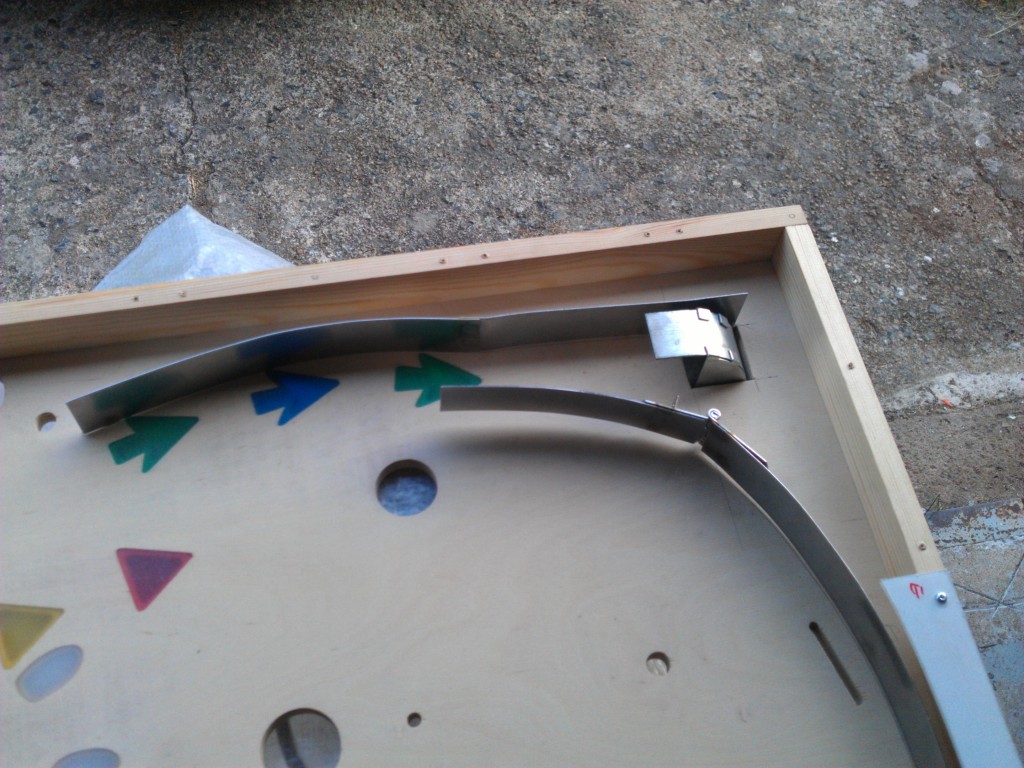
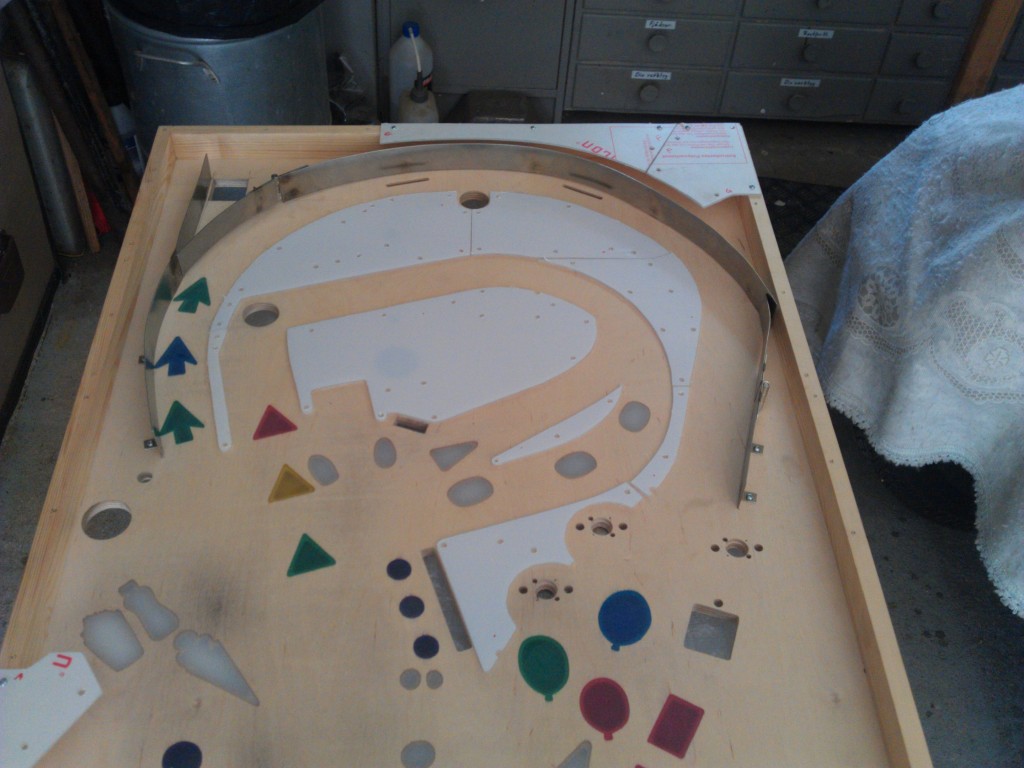
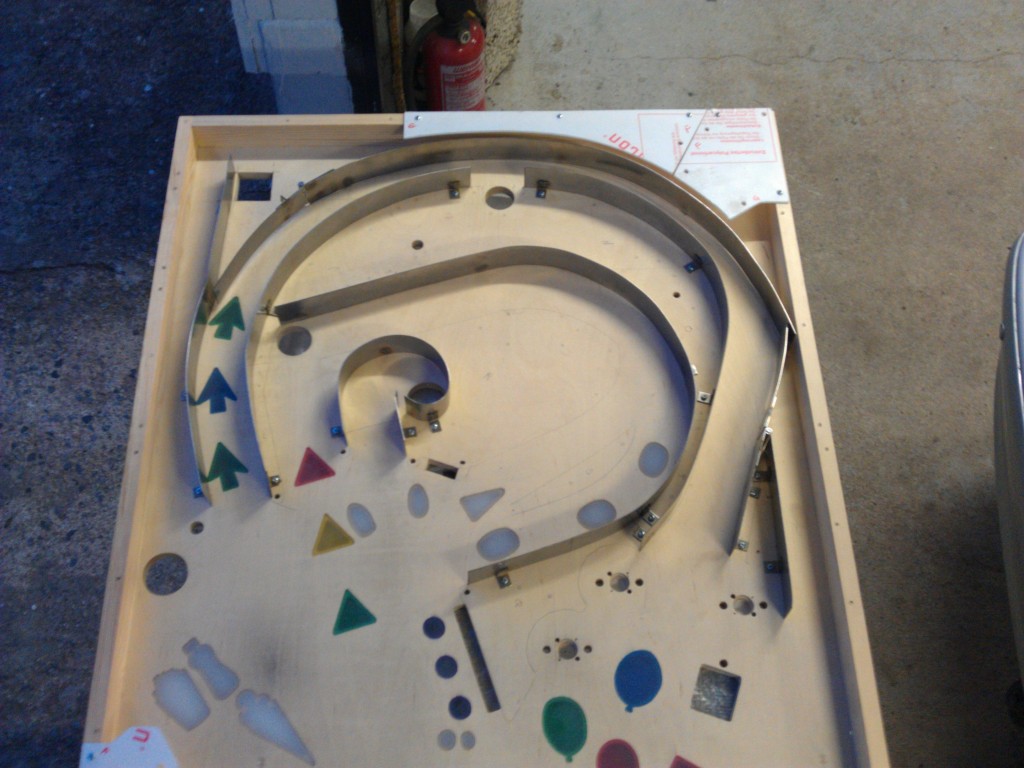
Got some 33mm wide stainless steel, 1mm thick and formed that to make the outer loop.
I also spotwelded some hinges to make some sort of gate for the Drop Zone and the shooter lane.
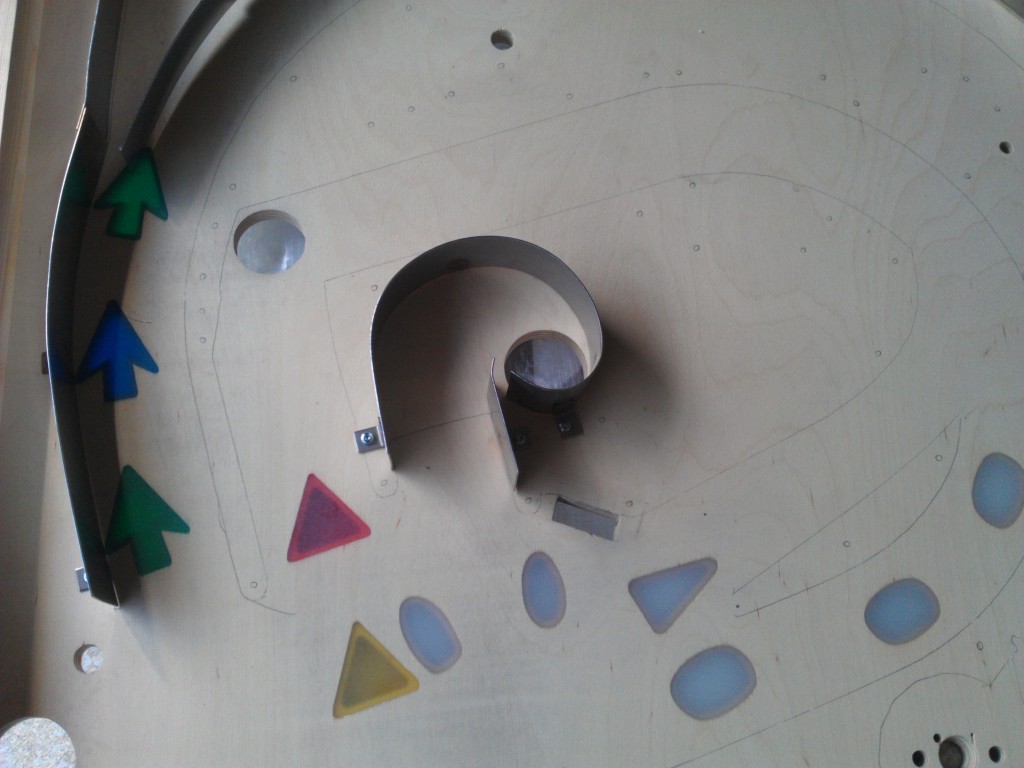
Also made a new left wire guide
Like the first one, it’s not perfect, but it will do for now.
2013-07-19
More polycarbonate
And made a loop thingy for Arcade.
2013-08-02
More stainless steel (too much?)
2013-08-22
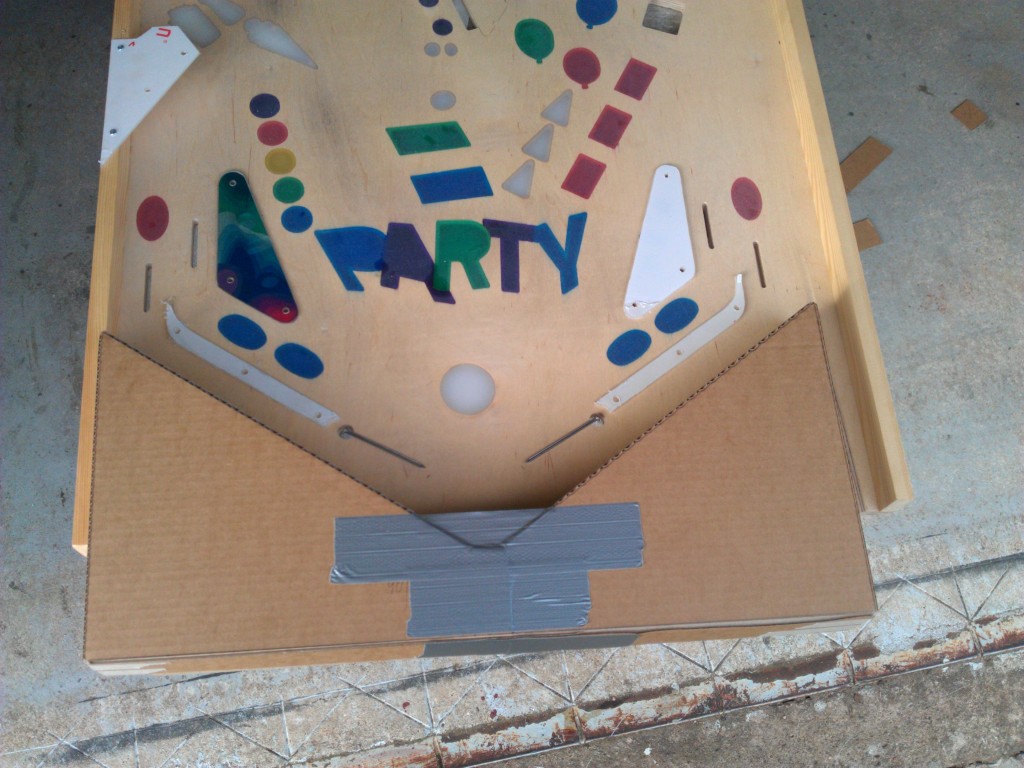
Working on an apron design, might make one from stainless steel, or just use plastics…
That’s all for now
Next up: Apron, Ramp for upper playfield.
//Emil
Hej Emil,
Very cool. Where in Sweden are you based?
/Daniel
Hi Daniel
I live in the southeast area of Blekinge
//Emil
I’m not sure if you are aware, Emil. But Daniel Forsgren is the programmer who ported Pinball Fantasies to MSDOS
Wow, I didn’t know that!
I never really played the DOS version back then, I just had the Amiga version.
Maybe it’s time for an update here soon, I have been working a bit on the leds and a few other things…
Hey, there!
I’m curious to know if you’ve got any news on this project. Mine is hanging in a wall with blinking lights as a decorative artifact in the local hackerspace. How’s your playfield nowadays?
cheers,
Felipe ”Juca” Sanches
What a coincidence!
I was just working on the code for the music/sound controller
I have attached almost all solenoids, switches and leds to the playfield, and only the hard part (coding) is left.
I am ready to print the playfield art onto a transparent vinyl, but there are some things missing in the artwork still (I know that I added the yellow balloon and the castle, but now I can’t find the file again. Ah well..).
I have also bought a sheet of plywood for the cabinet, and have started some drawings on that.
I’ll try to post an updated view here tomorrow, or perhaps Sunday.

Have a look at this until then https://www.youtube.com/watch?v=8D5kR3auoc4
Hej Emil! Jag jobbar på DICE och vi upptäckte nyligen din sida! Otroligt häftigt, kan vi höras på mail? Jag nås på förnamn.efternamn @dice.se.